Article verified for Release 14.2 on July 18, 2025
This article explains how to create workspaces and assign members to them. Workspaces are used to organize modules into separate, self-contained areas. The key modules that can be segmented by workspaces include:
- Tests
- Surveys
- Training courses
- Question pools
- Users
- User groups
- Categories
The main purpose of Workspaces is to enable segmentation and access control, allowing different groups of users to work independently within the same system.
Example 1 – An organization with multiple departments. The HR department workspace can have onboarding training, job satisfaction surveys, and similar, and the IT department workspace can have tests related to development procedures. Still, both can have access to the cyber security test that needs to be done by everyone in the organization.
Example 2 – A testing center that works with numerous organizations, each with its branding and tests.
Creating a new workspace
- Navigate to the Workspaces option in the side menu, then select Manage workspaces.
- Click the Create new workspace button.
- Enter the name of the workspace. The workspace name must be unique.
- Enter the workspace description (optional).
- Click the Save button to save the changes.

Workspace and System Roles
Before adding members to workspaces, both Workspace Roles and System Roles (Global) must be created.
-
Workspace Roles define permissions within specific workspaces
-
System Roles grant access at the system-wide level
It is recommended to start by creating Workspace Roles, as they complement System Roles by restricting access to specific areas.
For a full explanation on how to create these roles, assign them to users, and manage permissions, see: Workspace Roles vs. System Roles – Understanding Permissions
Organizing and Managing Users in Workspaces
Users can be added to workspaces in three ways:
-
By directly assigning them
-
Based on their roles
-
Using registration links
You can also remove users individually or by deleting membership rules.
For a complete guide, refer to: How to Organize and Manage Users in Workspaces
Workspace editing
Click the Actions option within the Manage workspaces tab to edit the desired workspace.

Once you select a workspace, you will be redirected to the Information tab, where you can view and change the workspace settings:
- ID – A unique value generated automatically once the workspace is created that can be used to access the workspace with a URL.
- Name – The name of a workspace that can be changed at anytime.
- Description – An optional field where additional information can be added.
- Theme – Select one of the previously created themes that will be applied to members that set the workspace as current.
- Created by – This field displays the workspace creator’s username. By clicking the username, you will see information about the user.
- Creation date – This field displays the date when the workspace was created.
- Logo – Click the Add logo button to change the default application logo, and members will see that logo when setting that workspace as current.
- Favicon – Click the Add favicon button to change the default application favicon, and members will see that logo when setting that workspace as current.

Displaying Updated Workspace Logo and Favicon
Each workspace can have its own theme, including customized colors, logos, and favicons. However, after switching to a new workspace, these visual changes may not appear immediately.
If you don’t see the updated logo or favicon after selecting a workspace, follow these steps to refresh the view:
-
After selecting the desired workspace, sign out of the application.
-
Re-enter your login credentials.
-
Click Login.
Once you log back in, the correct workspace logo and favicon should be displayed.
Adding training courses, surveys, or tests to a workspace
Training courses, surveys, and tests can be added to different workspaces. These entities are visible and accessible only to the managers and members of the chosen workspace. To add a workspace to the desired training course, survey, or test, select it from the Workspace section in the Information tab of the desired entity.

These entities can be reassigned to a different workspace at any time. Available workspaces that can be assigned depend on the user’s permissions.
Report on Workspace Activities
In this section, we will explain how to use the report on workspace activities to track and analyze the usage of resources within each workspace. The report provides insights into the number of various entities within each workspace.
The report on workspace activities allows super administrators to access and compare individual reports for each workspace. This report provides information on the following:
- The number of tests, surveys, training courses, user groups, question categories, and test pools within each workspace.
To access this report, navigate to the Reporting/Predefined reports tabon the left-hand menu and select Workspace reports.
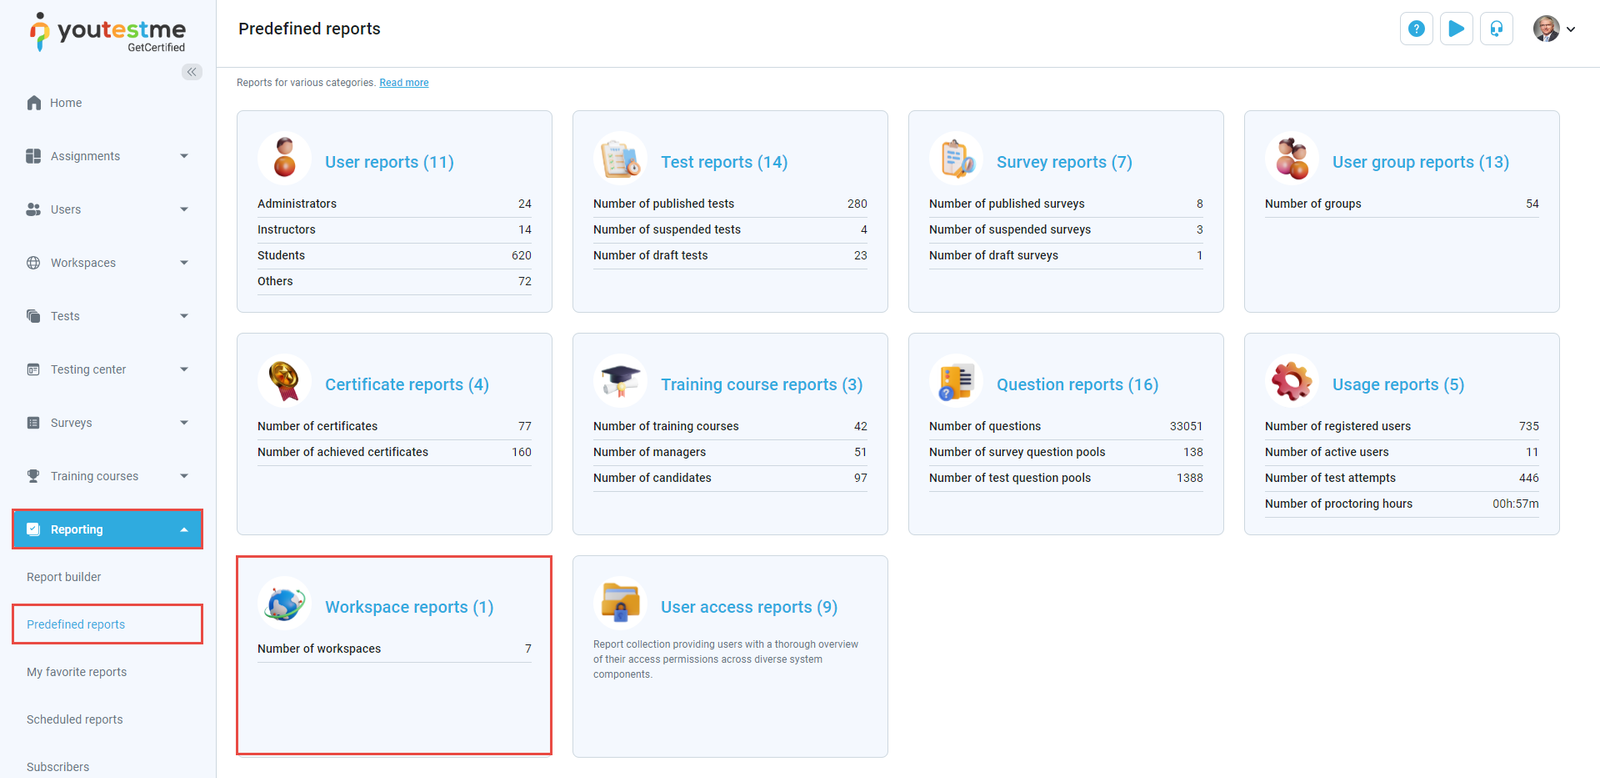
Open the report titled Count of entities per workspace.

The report displays the number of various entities within that workspace, providing you with a clear overview of its content.
- This report shows each Workspace’s name and description. Additionally, it shows the number of test attempts, tests, surveys, training courses, user group groups, and more.
- Furthermore, this report allows you to filter and display workspace statistics within the desired time range.
- You can also schedule the report to be generated automatically. For more instructions on how to schedule the sending of reports, please refer to this article.

Conclusion
Workspaces provide a powerful way to segment users, content, and responsibilities within a single system. By creating separate environments for different teams, departments, or clients, you can ensure better organization, improved access control, and a more focused user experience.
With the right combination of workspace roles, user assignment methods, and content management, administrators can maintain clean boundaries between groups—while still allowing for shared access to global resources when needed.